


Popular Products & Services
We offer a variety of security systems for your home and business. Our systems at True Protection are designed to give you peace of mind and protect your business and home from personal harm and/or property loss. We also go a step beyond, offering access control and video surveillance installations to better protect your property.
Explore current home security deals for savings on monitored protection and equipment.


Why Texans Choose True Protection

Protect, Control & View From Anywhere, Anytime.

Alarm.com Powered Connected Home
Honey, Did We Remember to Lock the Door?
Check from your phone and keep your vacation on track. Get automated notifications based on geofencing rules and A.I. powered analytics.

True Powered Security System
Did we remember to arm the security system?
With a True Protection security system, arm or disarm your security system from anywhere in the world with the push of a button.

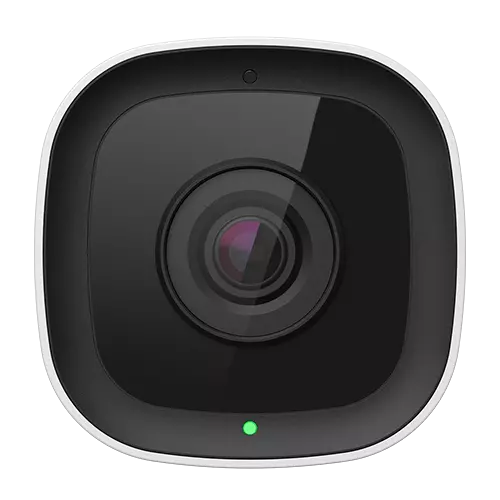
Video Surveillance Packages
Monitor Your Home or Business From Anywhere
Remotely view your home or business with True Protection's video surveillance packages powered by smart analytics.

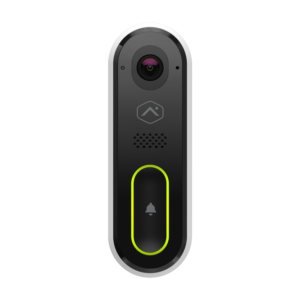
Alarm.com Doorbell Camera
See who's knockin' on your door.
Use your HD 2-way video doorbell camera to see who is at the front door without having to interrupt your family dinner.
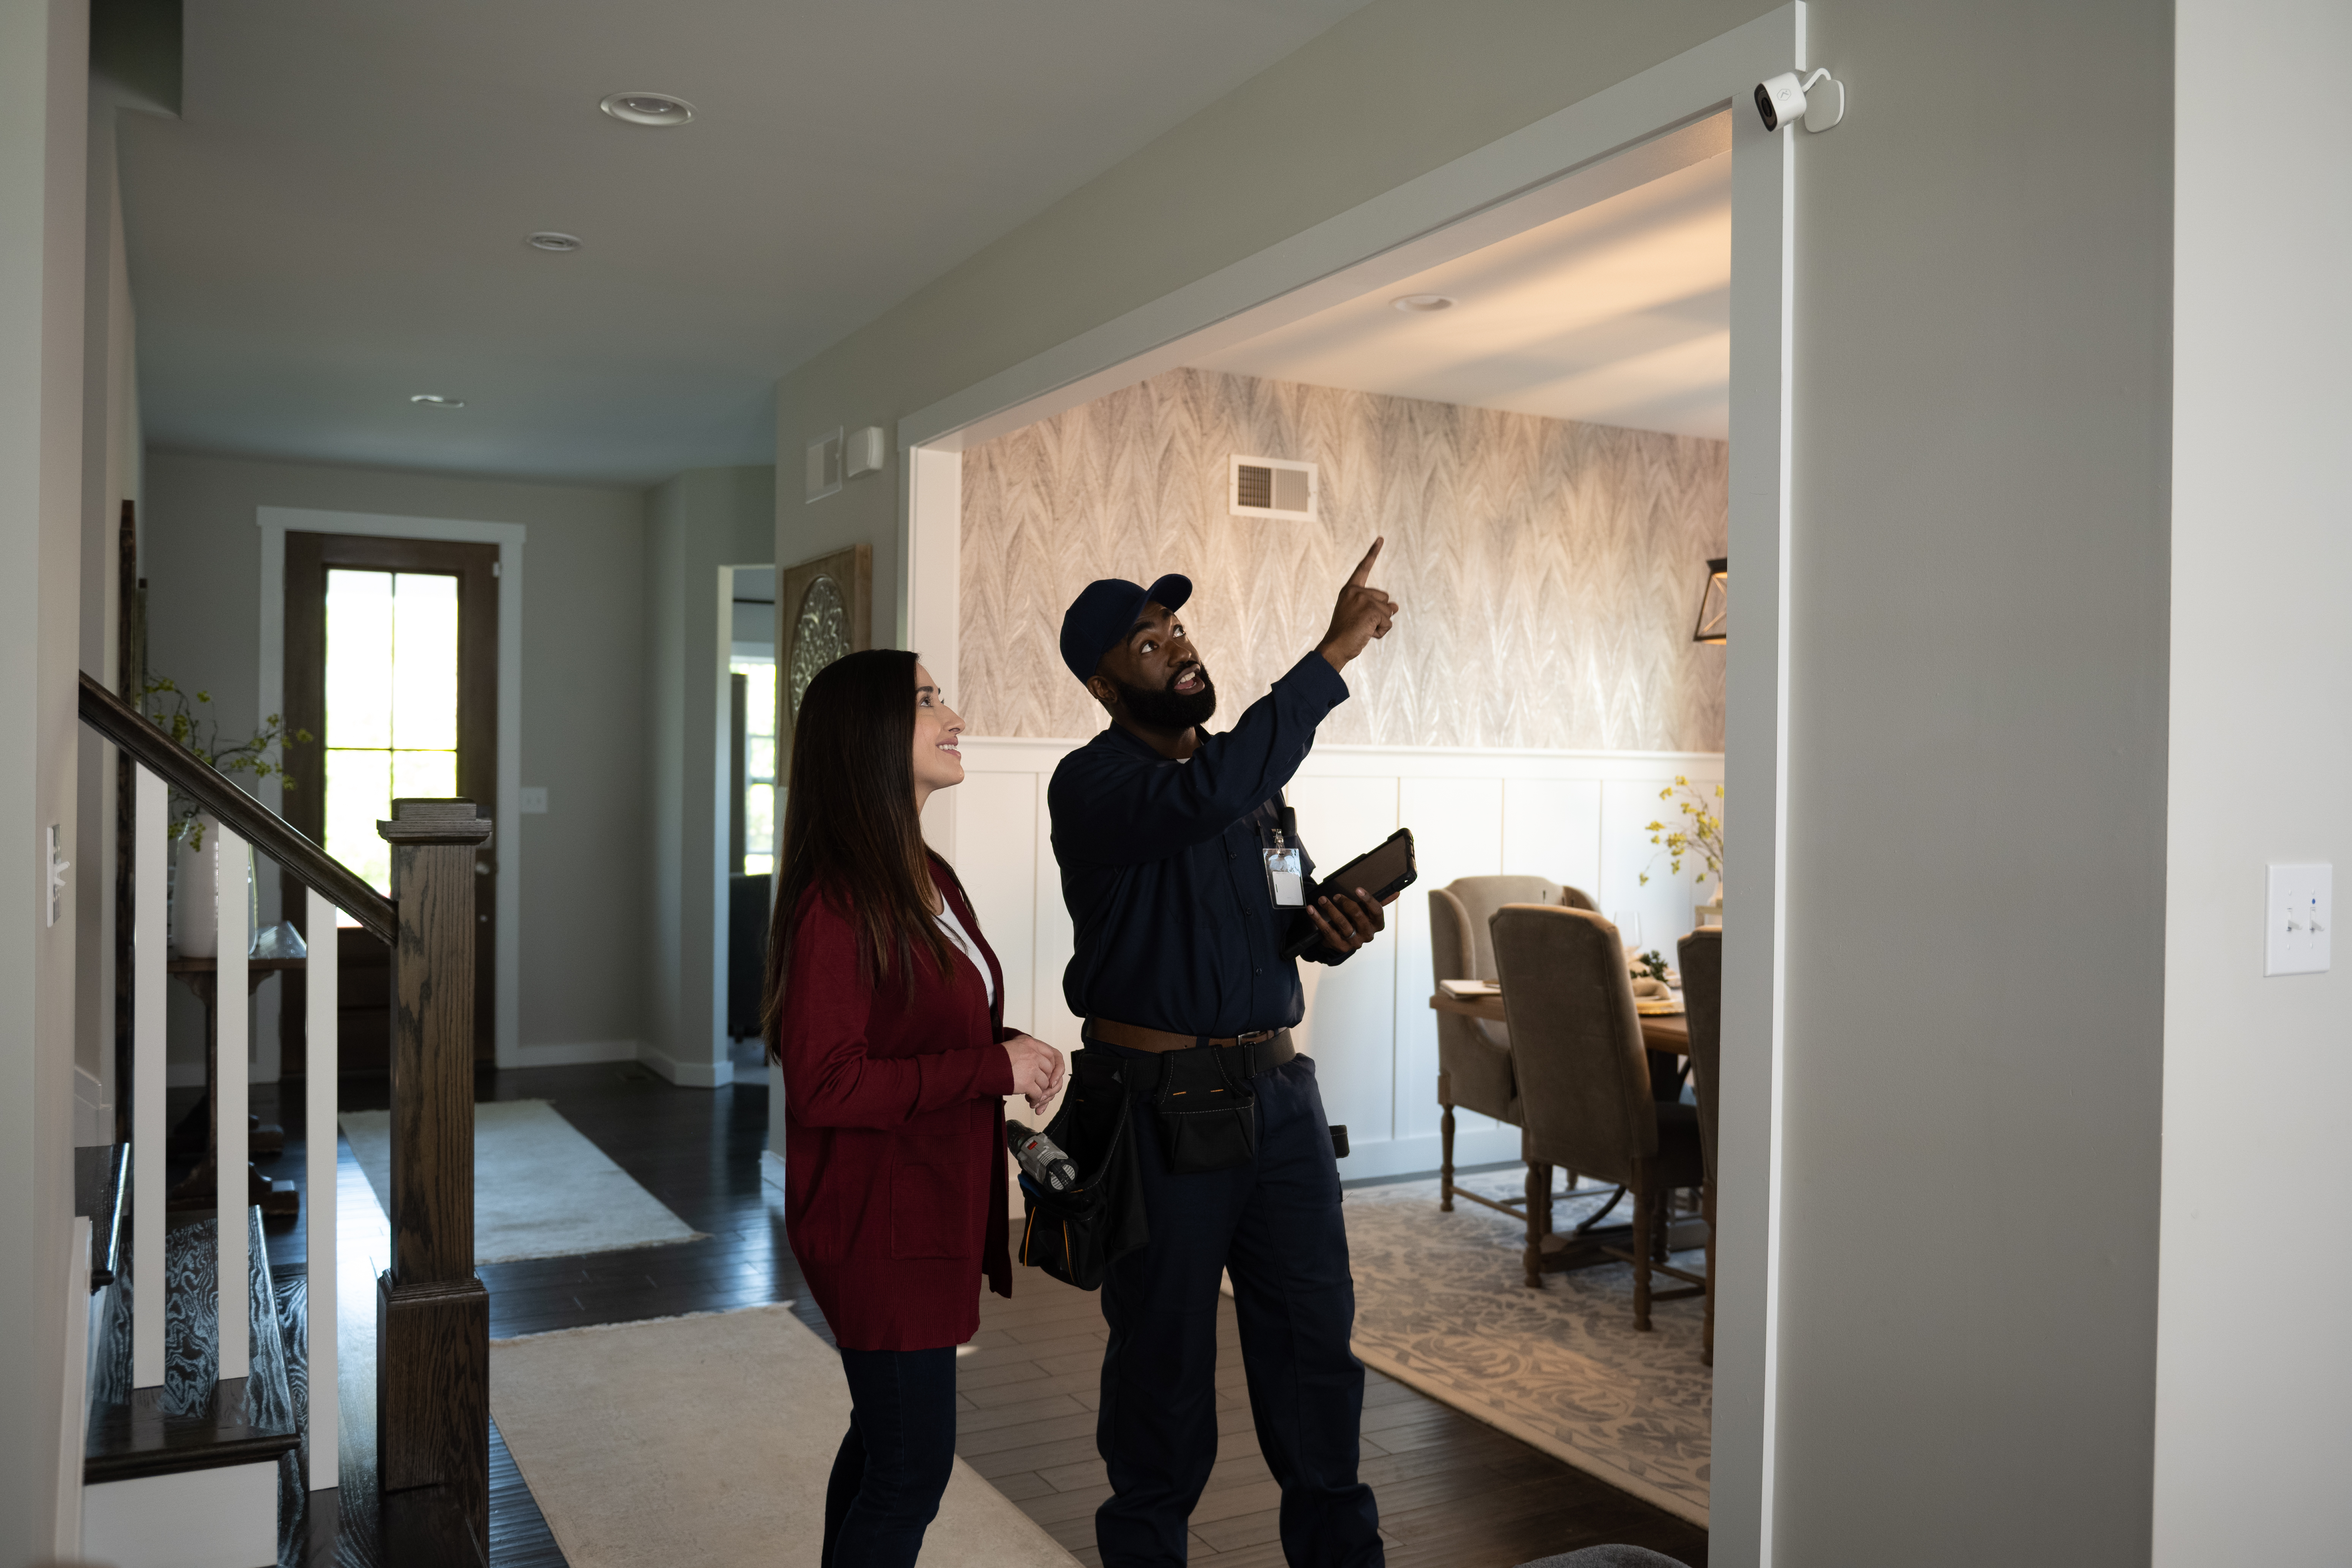
Getting Started with True Protection
1. Contact True Protection
Fill out our form or call us at 1-800-393-6461 to receive a free quote for your home or business.
2. Customize Your System
Speak with one of your local experts to help you find the best home or business alarm system for you.
3. Schedule Your Installation
After customizing your system, we will schedule a quick and painless installation at your convenience.
")
